jake@tuxwindowcleaning.com

How to Attach Christmas Lights to Stucco in Albuquerque
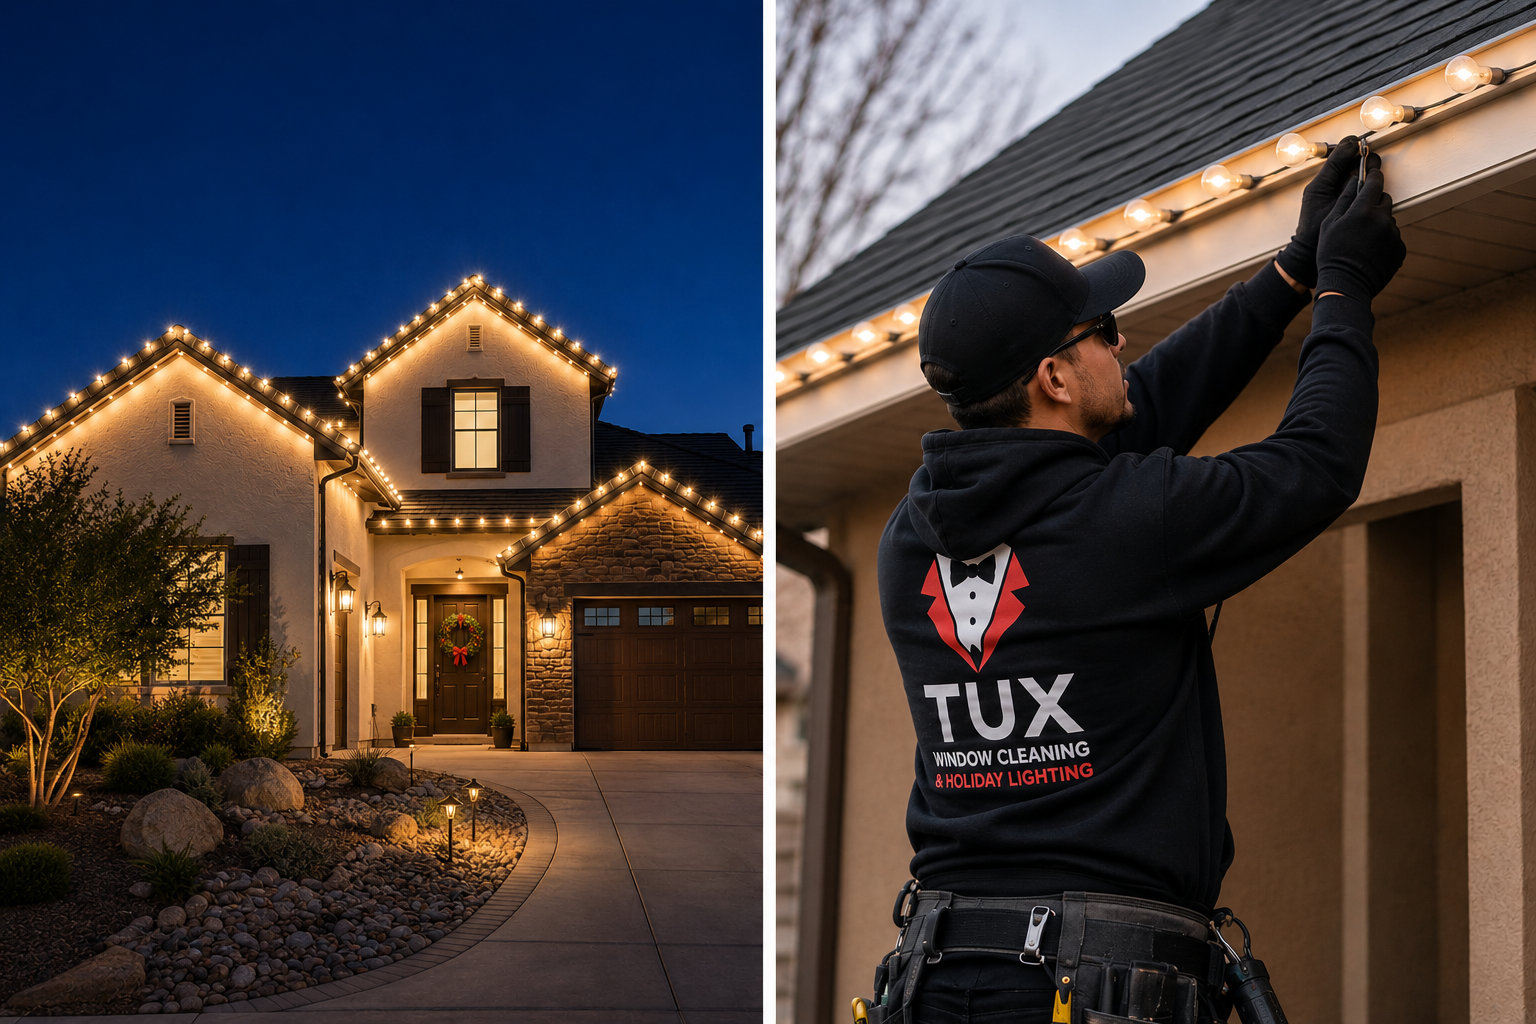
How to Attach Christmas Lights to Stucco in Albuquerque
Attaching holiday lights to stucco takes a little more planning than clipping them to gutters, but it can be done cleanly without damaging your exterior. The safest approach is to use outdoor-rated adhesive clips, removable hooks, roofline clips, or carefully placed masonry fasteners only when necessary. This guide explains how to attach Christmas lights to stucco in Albuquerque, where dry dust, bright sun, wind, and winter temperature swings can affect how well clips hold.
What do you need before starting?
Before hanging Christmas lights on stucco, gather supplies that fit your home’s texture, roofline, and power setup. Stucco is a hard, textured surface, so standard plastic clips made for shingles or gutters may not work directly on the wall. For most homes, the goal is to place lights along edges, trim, fascia, gutters, parapets, porch beams, or window frames so the lights look straight without forcing attachments into the stucco itself.
Useful supplies include:
-
Outdoor-rated LED Christmas lights to reduce heat and electrical load.
-
Christmas light clips for stucco, masonry-safe adhesive hooks, or outdoor removable clips.
-
Gutter, shingle, or fascia clips if your roofline has usable edges.
-
Outdoor extension cords rated for the distance and load.
-
A GFCI-protected outlet or outdoor-rated power source.
-
Rubbing alcohol or mild soap and water for cleaning attachment points.
-
A soft brush or microfiber cloth to remove Albuquerque dust from stucco and trim.
-
A ladder with stabilizers if you are working above ground level.
-
Painter’s tape or chalk for temporary layout marks.
-
A timer so the display turns on and off automatically.
Avoid staples, nails, and ordinary indoor tape. They can crack stucco, leave stains, create water entry points, or fail once wind catches the light strand.

1. Choose the safest attachment points first
Start by walking around the house and identifying surfaces that can hold clips without drilling into stucco. Gutters, fascia boards, roof shingles, porch beams, wood trim, metal railings, and window frames are usually better options than the stucco wall itself. If you can attach lights to those edges, you get a cleaner line and reduce the risk of surface damage.
For a christmas lights on stucco house display, think in layers. Put roofline lights on gutter or shingle clips, frame windows with adhesive clips on trim, and use ground stakes for walkways or landscaping. This lets you create a full display without relying on dozens of attachments on the stucco.
If you must attach to stucco, choose spots that are protected from direct water runoff and heavy wind. Flat or lightly textured areas usually hold adhesive better than deep, rough stucco. Avoid cracked areas, loose patches, and painted surfaces that are peeling.
2. Plan the light layout before attaching anything
Lay your light strands on the ground in the order you plan to install them. Check where each plug will land, where extension cords will run, and whether the strand length matches the roofline or wall section. This step prevents the common problem of reaching the end of a run and discovering the plug is on the wrong side.
Use painter’s tape or small chalk marks to show where clips should go. A consistent spacing of clips keeps the strand from sagging, especially when wind hits the house. On longer runs, place clips closer together around corners, roof peaks, and edges where tension increases.
Also plan your power path. Cords should not cross walkways where they create a trip hazard, and they should not sit in areas where water collects. In Albuquerque, winter may be dry compared with many places, but outdoor electrical connections still need weather protection.
3. Clean and dry the stucco or trim
Adhesive clips fail most often because the surface was dusty, cold, damp, or textured beyond what the adhesive can grip. Albuquerque homes collect fine dust quickly, so cleaning matters even if the wall looks clean from a distance. Brush away loose dirt, then wipe the attachment points with mild soap and water or rubbing alcohol if the clip manufacturer allows it.
Let the surface dry completely before applying clips. Adhesive needs direct contact, and moisture or dust creates a weak layer between the clip and the wall. If the stucco is painted, test one hidden spot first to make sure the adhesive does not pull paint away during removal.
Temperature matters too. Many adhesive products bond better when applied during the warmer part of the day. If you install clips on a cold morning and hang lights immediately, they may not reach full grip before the strand puts weight on them.
4. Use adhesive stucco clips correctly
When using christmas light clips for stucco, follow the product instructions closely and match the clip to the weight of your lights. Press each clip firmly against the clean surface for the recommended amount of time. If the instructions say to wait before adding weight, wait; the bond often strengthens after the adhesive has had time to set.
Do not stretch the light strand tight between clips. A little slack helps prevent tension from pulling clips off when the wire contracts in colder weather or moves in the wind. The lights should rest in the clips, not hang from a few stressed points.
For rough stucco, adhesive hooks may only touch the high points of the texture. In that case, use more clips, switch to trim-based attachment points, or choose a different method. Forcing adhesive to do more than it can handle usually leads to fallen strands and possible paint damage.
5. Clip lights to gutters, fascia, and roof edges when possible
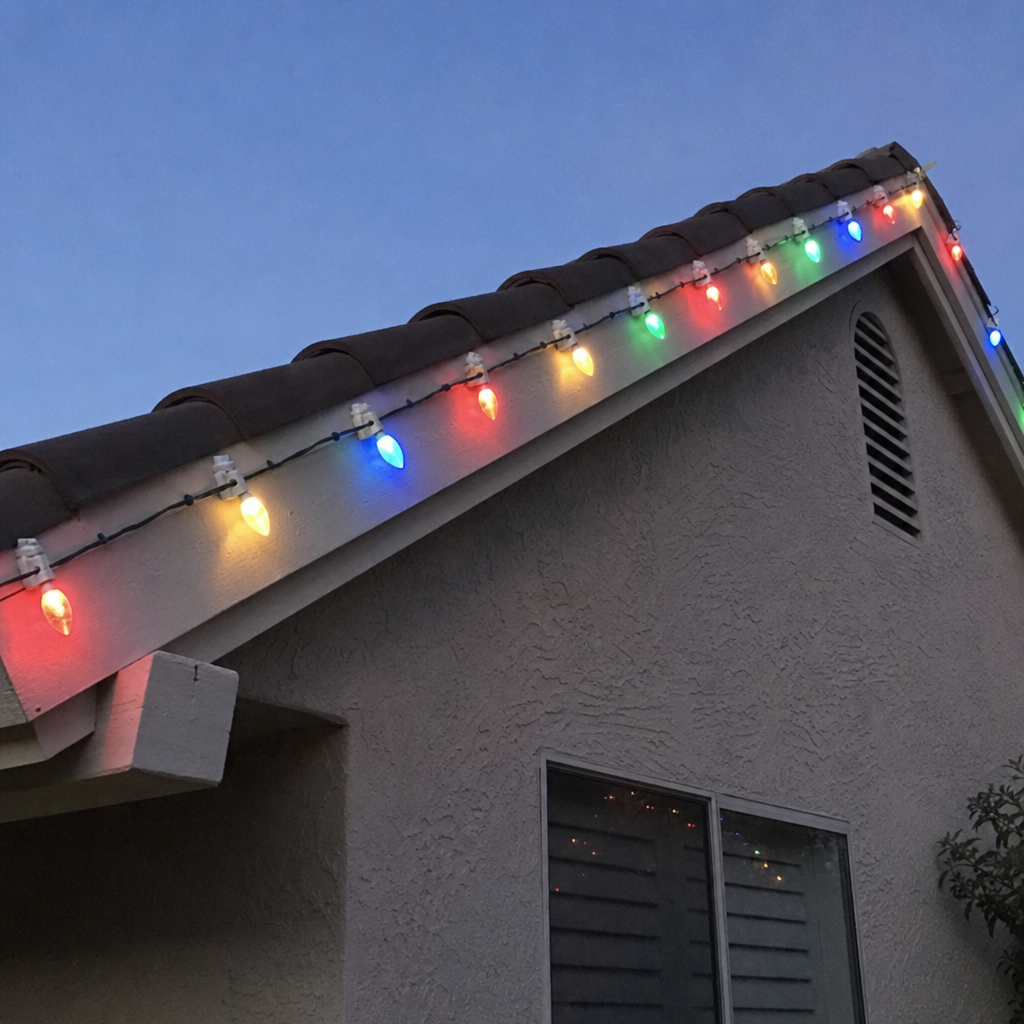
If your home has gutters or accessible roof edges, use gutter or shingle clips instead of sticking clips to stucco. These clips are designed to grip an edge and hold the bulb orientation consistently. They also make removal faster when the season is over.
For rooflines, attach clips to the light strand before going up the ladder when possible. Then you can place each clip with one hand while maintaining balance. Keep the strand untangled and avoid pulling on installed sections as you move.
Fascia boards and trim can also work well if they are in good condition. Use removable outdoor hooks or clips suited to the material. If the trim is painted, test first and remove slowly after the holidays to reduce the chance of lifting paint.
6. Consider hot glue only on suitable surfaces
Some installers use small dabs of hot glue to attach lights to masonry or stucco, but it is not right for every home. Hot glue may work better on unpainted, stable surfaces than on painted stucco, where removal can peel paint or leave residue. It can also behave differently depending on texture, temperature, and sun exposure.
If you choose this method, test a hidden area first and use the least amount needed. Apply the glue to the clip or light base, press it in place briefly, and avoid smearing glue across the stucco. Never use hot glue near electrical connections, damaged insulation, or anything heat-sensitive.
For many homeowners, adhesive clips or roofline clips are simpler and lower-risk. If you are unsure whether hot glue is appropriate for your exterior, skip it or contact an Albuquerque Christmas light installation professional.
7. Drill only when a permanent anchor makes sense
Drilling into stucco should be the last option, not the default method. Every hole creates a potential path for moisture, and poorly placed fasteners can crack the finish coat. If you need a permanent attachment point for future holiday displays, use masonry anchors made for exterior use and place them carefully.
Drill into solid areas only, not cracked or hollow-sounding spots. Use the correct masonry bit, keep holes small, and seal around exterior penetrations as appropriate for the surface. If you do not know what is behind the stucco, avoid drilling; electrical lines, drainage planes, or other building components may be present.
Permanent hooks can be helpful for repeat displays, but they should be planned like an exterior fixture rather than a seasonal shortcut. When in doubt, hire a qualified installer or contractor instead of guessing.
8. Protect cords, plugs, and connections
Once the lights are attached, check every connection before turning the display on for the evening. Use outdoor-rated cords and keep plug connections off the ground when possible. A weather-resistant cord cover can help protect connections from moisture and debris.
Do not overload outlets or connect more light strands than the manufacturer allows. LED lights make larger displays easier, but each product still has limits. If a breaker trips, lights flicker, or a cord feels warm, unplug the display and reduce the load before using it again.
Route cords neatly along walls, landscaping edges, or other low-traffic areas. Use cord clips where appropriate, but do not pinch cords under doors or windows. A neat cord layout looks better and reduces wear throughout the season.
9. Test the display after sunset
A layout that looks straight during the day can reveal gaps, dips, or dark spots at night. Turn the lights on after sunset and view the house from the street, driveway, and sidewalk. Look for uneven spacing, overly tight corners, dangling cords, and bulbs facing the wrong direction.
Make small adjustments before weather and time settle everything into place. Add clips where the strand sags, loosen any area under tension, and secure loose cord ends. If wind is expected, reinforce corners and exposed sections rather than waiting for clips to fail.
This is also the moment to set your timer. A consistent schedule saves energy, reduces wear, and keeps you from having to plug and unplug the lights every night.
What if clips will not stick to stucco?
If clips will not stick, the issue is usually surface dust, texture, temperature, product mismatch, or too much strain on the strand. Clean the area again, switch to a warmer installation time, add more clips, or move the light run to gutters, fascia, trim, or landscape stakes. If the display still will not stay secure, professional albuquerque christmas light installation may be the safer and cleaner option.
Try this troubleshooting checklist:
-
Clips fall within minutes: The surface may be dusty, damp, or too rough.
-
Clips fail overnight: The adhesive may not have cured long enough before weight was added.
-
Only corner clips fail: The strand is probably too tight or exposed to wind tension.
-
Paint lifts during removal: The adhesive may be too strong for the painted surface.
-
Lights sag between clips: Add more clips or reduce the distance between them.
-
Cords pull the strand down: Support the cord separately so the lights are not carrying its weight.
Remove lights carefully after the season
Take lights down slowly instead of pulling the strand away from the wall. Remove the lights from the clips first, then remove each clip according to the manufacturer’s instructions. Pulling straight out from stucco can damage paint or loosen textured material, so use the recommended release tab or a gentle twisting motion when appropriate.
Clean away any residue and inspect the wall for small areas that may need touch-up. If you used reusable clips, store them with the light strand so next year’s installation is faster. Label each strand by location, such as “front roofline” or “garage window,” to make future setup easier.
A safer stucco light-hanging plan
The best way to hang Christmas lights on stucco is to avoid unnecessary holes, use the right clips, and reduce tension on every strand. Start with gutters, trim, and roof edges, then use stucco-safe adhesive clips only where the surface can hold them. Clean first, test small areas, protect electrical connections, and reinforce exposed runs before wind or cold weather tests the display.
If your home has high rooflines, difficult access, fragile stucco, or a large design, hiring help can be worth it. A careful Albuquerque Christmas light installation can give you a polished holiday look while reducing ladder time, surface damage, and mid-season repairs.